 English
 русский
 Español
 عربى
عربىHDPE Plastic Linear Gap Gutter Cover
Cat: Drain Channel Cover
The HDPE plastic linear gap drainage channel cover plate offers a revolutionary solution for efficient surface water runoff management. Made from...
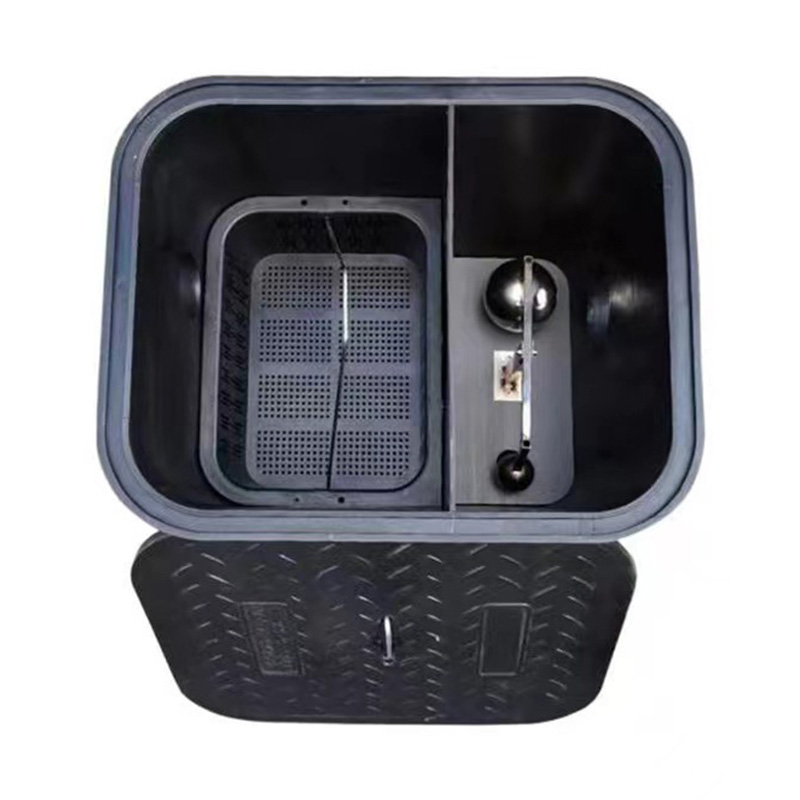
See DetailsPlastic Oil Water Separator is an essential device for facilities handling oily wastewater, such as automotive workshops, industrial kitchens, or small-scale factories. Installing it correctly ensures effective separation of oil from water, prevents pipeline blockages, and reduces environmental impact. At the same time, facilities using a Plastic Grease Trap can benefit from combining these two solutions to manage both solid grease and oily wastewater efficiently. Proper integration improves maintenance efficiency and compliance with local regulations.
Understanding Plastic Oil-Water Separators
Before installation, it’s important to understand how a plastic oil-water separator works. The device uses gravity and coalescing elements to separate oil droplets from water, allowing clean water to exit through the outlet while capturing oil in a retention chamber. Unlike traditional metal separators, plastic models offer advantages such as corrosion resistance, lightweight construction, and lower maintenance costs.
Step-by-Step Installation Guide
1. Site Assessment and Preparation
Location Matters: Choose a site that allows easy access for maintenance and cleaning. Avoid areas prone to flooding or high temperatures.
Space Requirements: Ensure sufficient clearance around the separator for inspections and potential future expansion.
Ground Stability: The installation site should have stable ground to support the separator's weight, especially when filled with water and oil.
2. Excavation and Base Preparation
Excavation Dimensions: Dig a hole that is slightly larger than the separator to allow space for backfilling.
Base Layer: Place a layer of sand or gravel to create a level and stable base. This helps prevent settlement over time.
Drainage Considerations: Make sure the base layer promotes proper drainage to avoid water pooling around the separator.
3. Positioning the Separator
Level Placement: Carefully position the separator in the prepared hole, ensuring it is level. A tilted separator can reduce separation efficiency.
Anchoring: Use brackets or stakes if needed to stabilize the separator before backfilling.
4. Connecting Inlet and Outlet Pipes
Inlet Pipe: Connect the wastewater source securely to the separator’s inlet. Use appropriate gaskets or sealants to prevent leaks.
Outlet Pipe: Connect the treated water outlet to the drainage system. Ensure proper slope to maintain smooth water flow.
Ventilation: If required, install vents to prevent vacuum formation and ensure proper separation.
5. Backfilling and Compaction
Backfill Material: Use clean sand or soil for backfilling around the separator. Avoid sharp stones that may damage the plastic.
Compaction: Compact the backfill in layers to prevent settling, which can misalign the separator.
Inspection Access: Leave access points for regular inspections and maintenance.
Testing and Initial Operation
Water Test: Fill the separator with water to check for leaks or misalignment.
Oil Test: Introduce a small amount of oil to ensure proper separation and retention.
Adjustments: Make any necessary adjustments to inlet/outlet alignment before final operation.
Maintenance Tips
To maximize the life and efficiency of your plastic oil-water separator:
Regular Cleaning: Remove accumulated oil from the retention chamber periodically.
Monitor Flow Rates: Ensure wastewater flow does not exceed the separator’s capacity.
Inspect Seals and Pipes: Check for leaks, cracks, or blockages in the system.
Documentation: Keep maintenance logs for environmental compliance purposes.
Benefits of Proper Installation
A correctly installed plastic oil-water separator not only protects the environment but also reduces maintenance costs and avoids regulatory penalties. Facilities using Weicai separators can expect long-term reliability, ease of cleaning, and improved wastewater management efficiency.
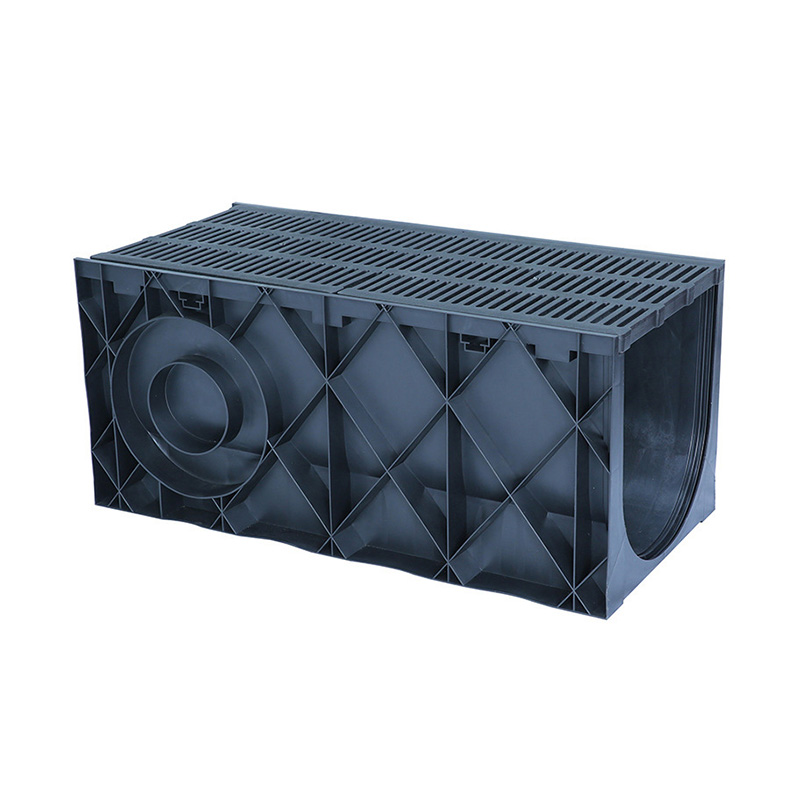
The HDPE plastic linear gap drainage channel cover plate offers a revolutionary solution for efficient surface water runoff management. Made from...
See Details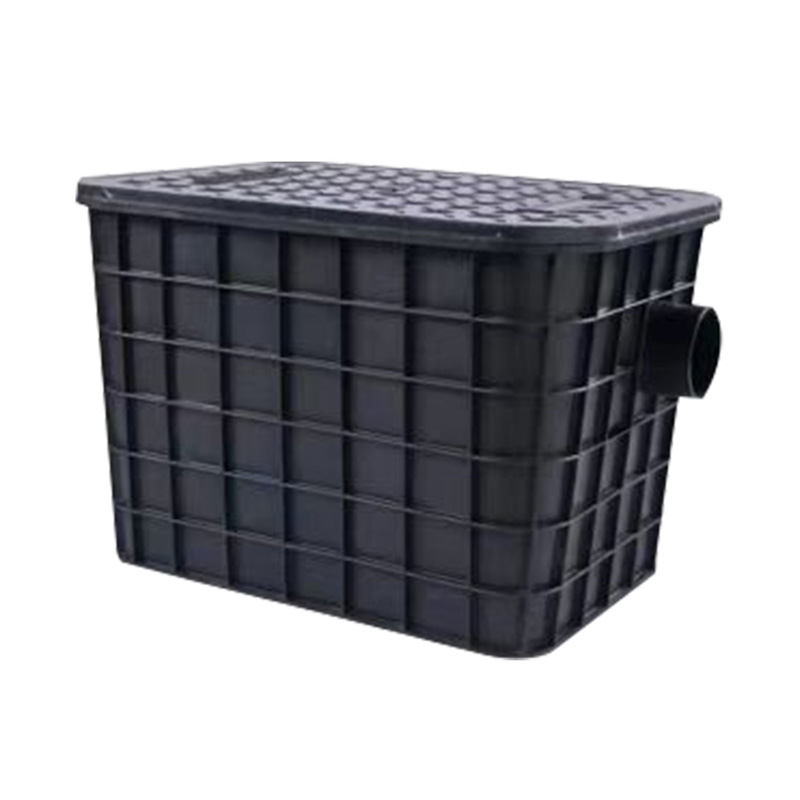
HDPE (High-Density Polyethylene) plastic buried oil interceptor wells represent a modern and efficient solution designed to intercept, separate, ...
See Details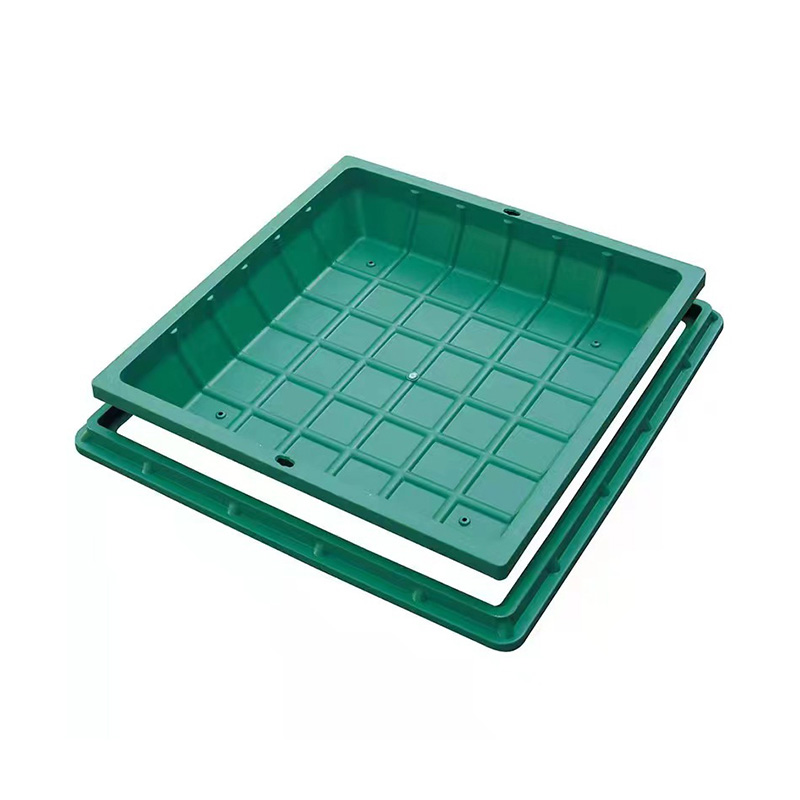
The PE grass pot park composite square flower pot well cover represents an innovative solution designed to combine practicality with visual appea...
See Details
In the realm of landscaping and urban beautification, the integration of functional and aesthetically pleasing elements is essential for creating...
See Details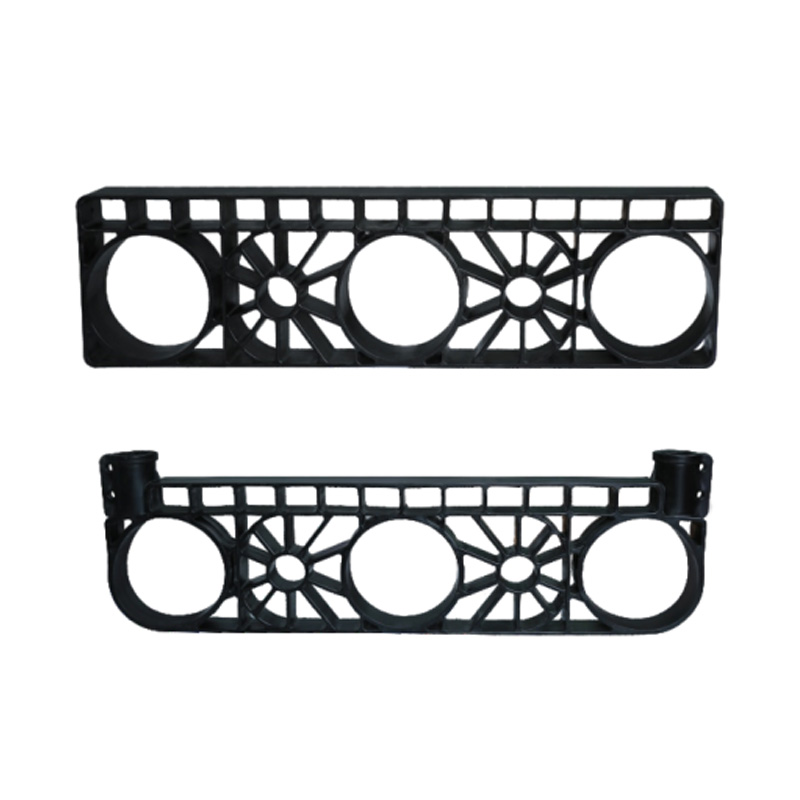
The PE Floating Buoy Aquaculture Net Cage is distinguished by its buoyant structure, which allows it to float on the surface of water bodies such...
See Details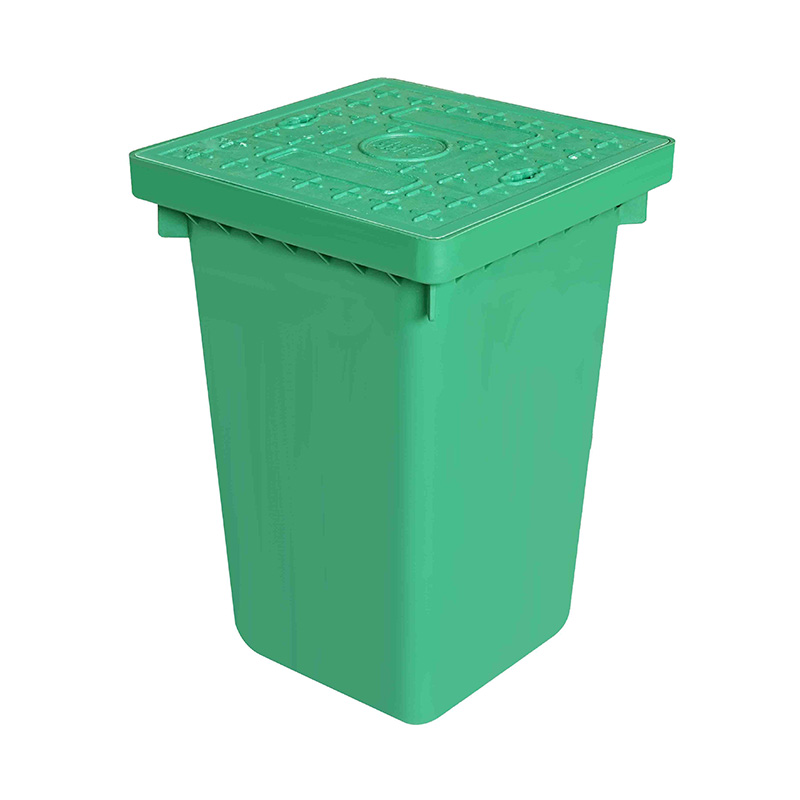
Integrated threading-free cable chamber box well is a commonly used equipment in the process of laying weak current lines. Its design structure m...
See DetailsIt would be great to hear from you!
The company independently develops HDPE drainage ditches, cage supports, and reinforced three-format plastic septic tank products, etc.


Phone: +86-13357651618
Tel: +86-0576-82929520
Email: [email protected]
Address: Heyu Industrial Zone, Yuanqiao Town, Huangyan District, Taizhou City, Zhejiang Province, China
Copyright © 2024 Taizhou Weicai Plastic Industry Co., Ltd. All Rights Reserved.

Plastic Drainage System Manufacturer